Are you a new beginner for setup WordPress on your Localhost? So then in this tutorial you can learn step by step how to install WordPress on your local Computer, So please follow the below instruction for installing new WordPress site on your Local server.
Before starting the WordPress Setup on your Local server, You need to install Local server software on your computer:
So if you have not installed Local Server on your Computer please Download and install anyone software from below given link or other as your choice.
Download XAMPP Server from this link:
https://www.apachefriends.org/index.html
Download WampServer from this link:
http://www.wampserver.com/en/
If you have completely installed Local Server on your computer then now start the server engine and now lets start for Setup WordPress file:
INSTRUCTION FOR SETUP WORDPRESS SITE ON LOCAL SERVER
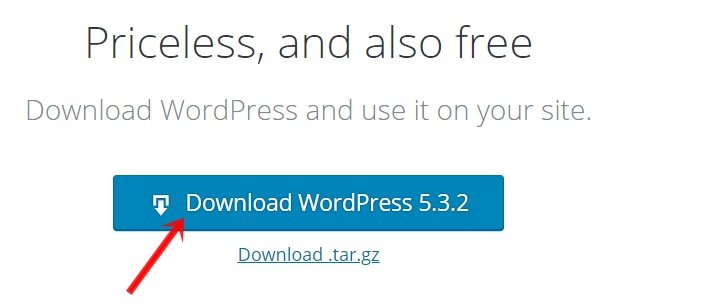
Step 1: Go to this link https://wordpress.org/download/ and download the latest WordPress ZIP file.
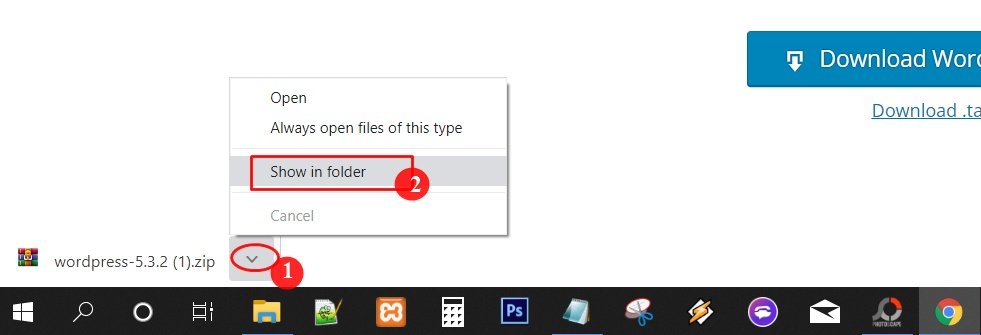
Step 2: At this time if you using the Google Chrome browser then after file download completed Click on Down Arrow icon from download bar and click on “Show in folder” and go the file download folder, Or you can also go direct file downloading folder and find there WordPress file latest download.
Step 3: Now Right click on current WordPress ZIP file and extract the file from zip file.

Step 4: After Extract completed then click on that folder just once and copy the “wordpress” folder.
Step 5: Now go the Local server Xampp or Wamp installed folder and paste the “wordpress” named just copied folder inside “htdocs” folder.
For Example: if you have installed localhost on your D: drive then go to this location: D:\xampp\htdocs
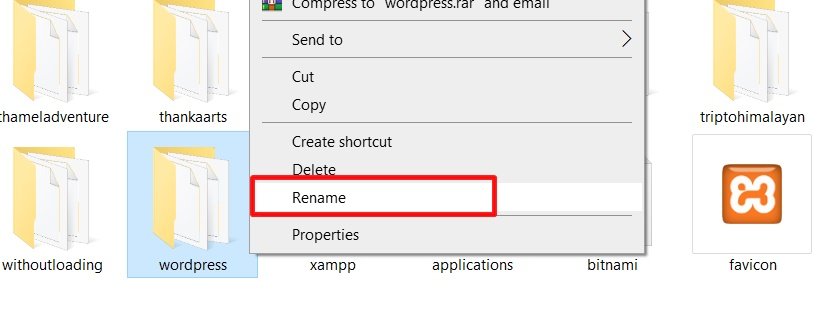
Now rename the “wordpress” folder name into your own project name.
Create Database for install WordPress :
Step 6: Now open New Tab from internet browser and type the “localhost/phpmyadmin” on address bar and press Enter.

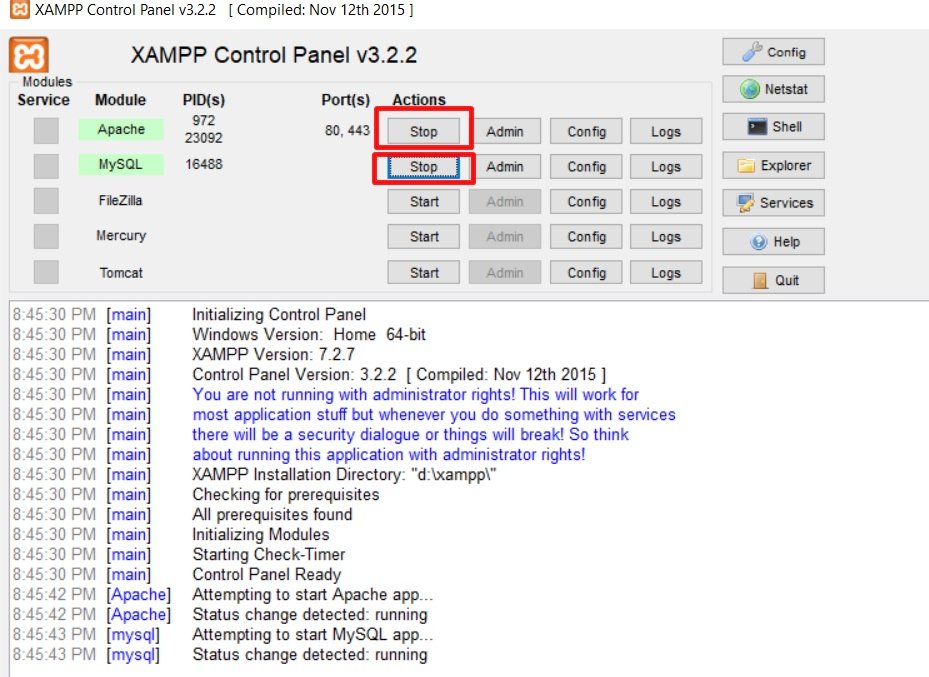
Note: Before going to phpmyadmin page you need to Run “Apache” and “MySQL” server from Xamp or Wampp engine otherwise it will be go error page, for example see the below screenshot.
Step 7: On this phpMyAdmin page Now click on “Databases” from menu section.

Step 8: Now choose the Database name whatever you like and click on “Create” button and create the new database.

Now you can close that phpMyAdmin page but don’t forget the just created database name.
Now Last Step for Install WordPress site:
Step 9: Now Open New Tab from internet browser and type “http://localhost/myproject” and press enter.
For Example if you have created “mywordpress” named project inside htdocs folder then type http://localhost/mywordpress
if you are confuse then go to htdocs folder and check the correct name.

Step 10: Now choose your best language for project’s WordPress dashboard and click on “Continue” button
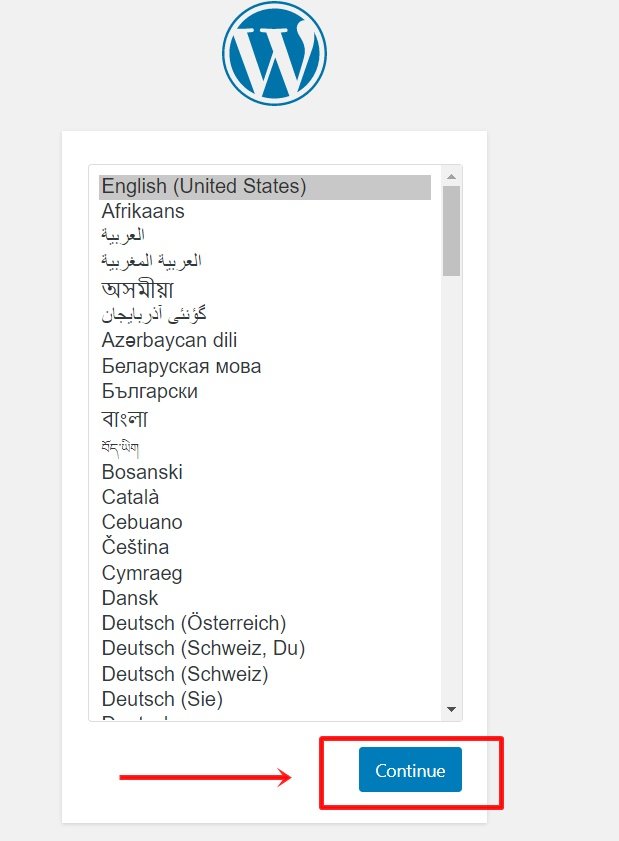
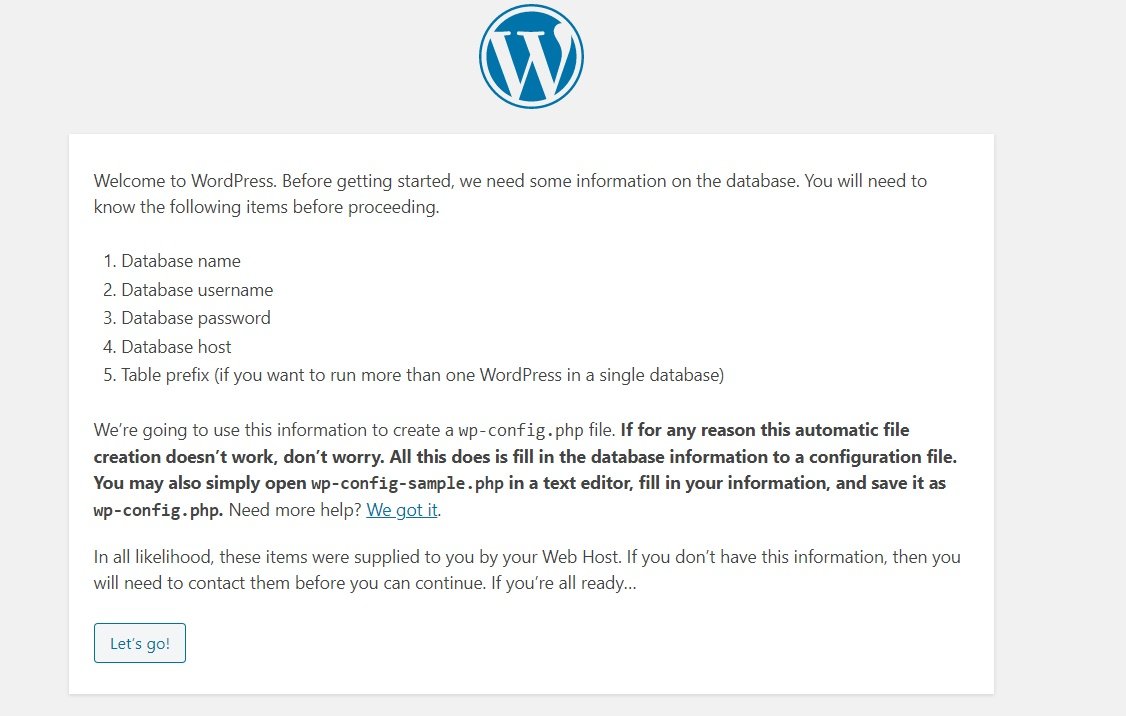
Step 11: After click on Continue button and now here saying you have to know Database name, Database username, Database password, Database host and Table prefix. it is means if you don’t know this five item then you can do not install WordPress, But don’t worry this is just for your kind information and you just click on “Let’s go!” button from button.
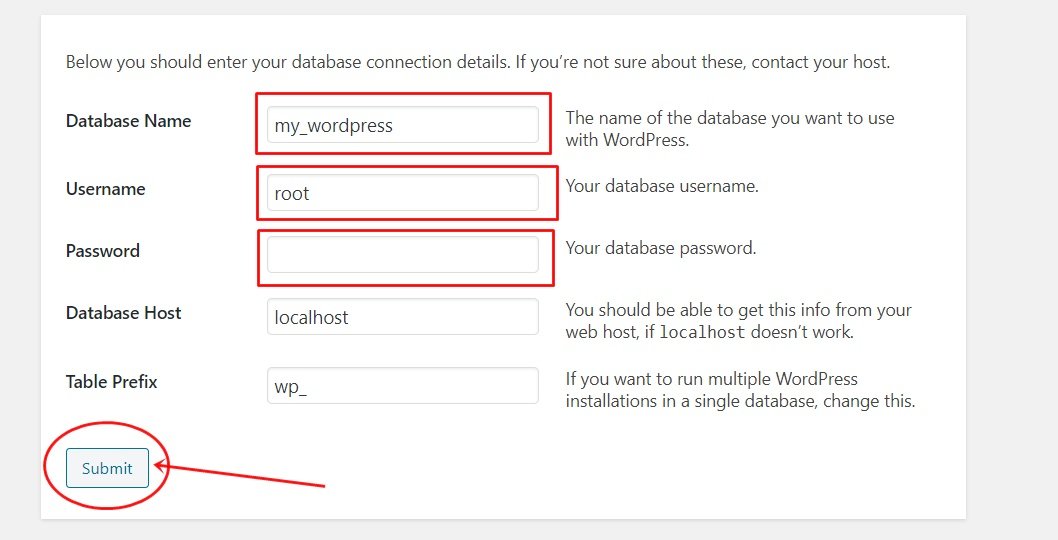
Step 12: Now in the Database Name: type your Database Name if you forget database name then go to http://localhost/phpmyadmin and check there, Username: root, Password leave empty, and other things Database Host and Table Prefix also leave default. and click on “Submit” button from button of page.
Step 13: On the above step if you are filled the correct information then on next page showing look like this All right page, So now click on the “Run the installation” button

Step 14: Now on this page you have to Enter about your project information for example:
- Site Title: Your project name.
- Username: Choose any your own username for example: admin.
- Password: Choose any for easy to remember (if you are enter week or very week password then you need to check mark on Confirm use of week password).
- Your Email: Enter your own email Gmail/Yahoo or other whatever currently you are using.
- Search Engine Visibility: Leave it default.
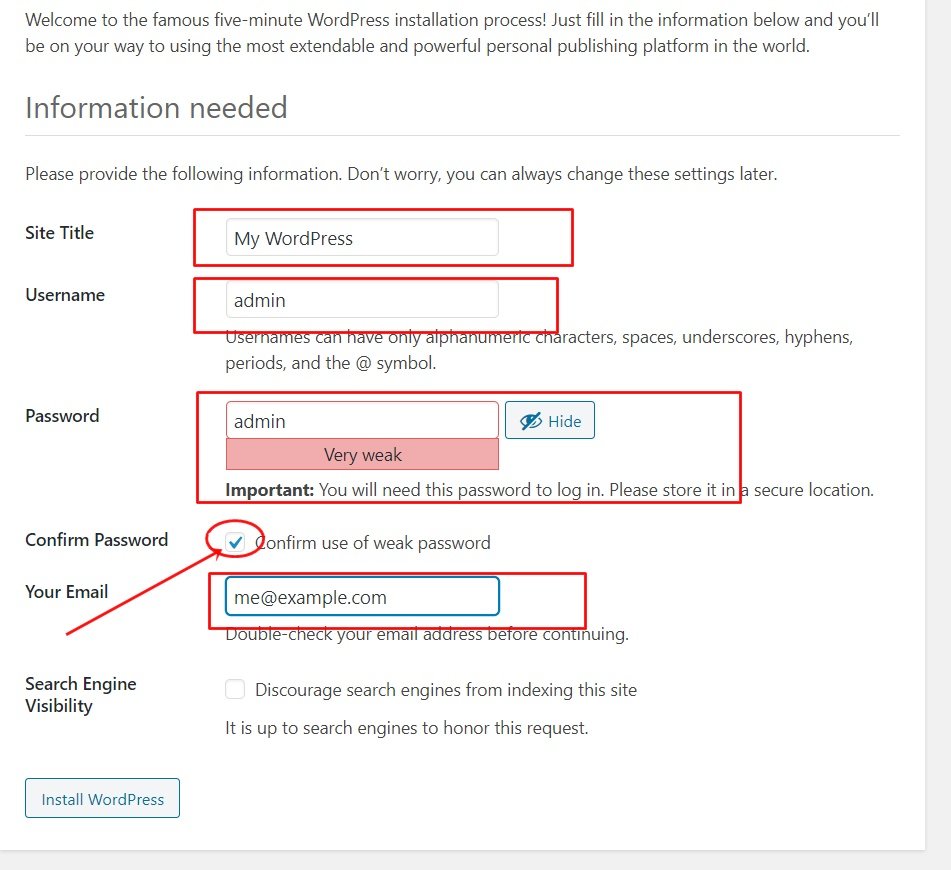
Now click on “Install WordPress” button from button of page and wait a moment.
Step 15: Now successfully you have installed WordPress on your Localhost server, Now you can login with your username and password which is entered site information for example see the above step 14: figure..
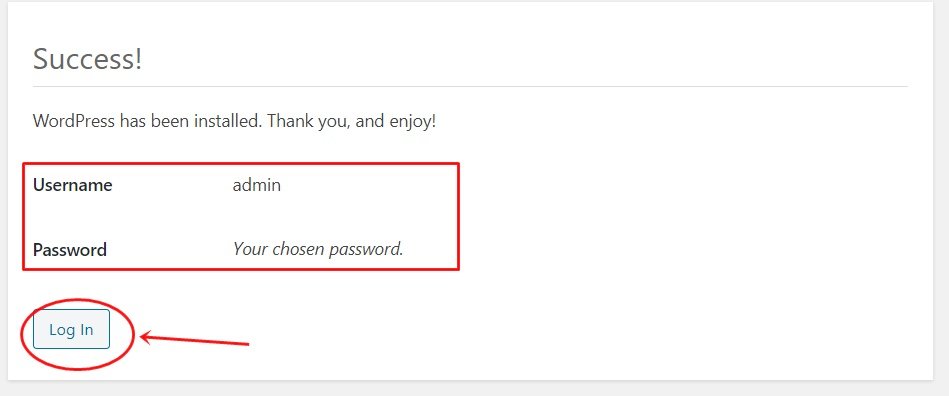
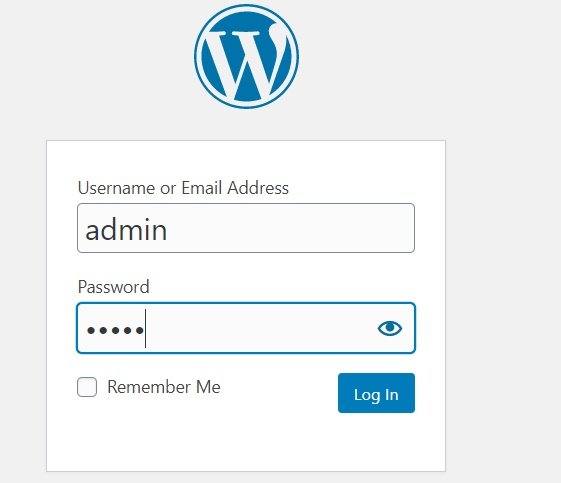
Step 16: Now fill up your username and password and go to the Dashboard and customize the Themes as per your needs.
I hope you better understand on this page about WordPress install on your local server, after this article also you doesn’t understand or something confuse so please leave your comment on below for further information.
In the end
I hope you have found this article helpful. Let us me your opinion or questions if any through the comment form in below or use this form to ask your question.


